



How to Reduce Glare on Glasses in a Photo Without Redrawing the Eyes
How to Reduce Glare on Glasses in a Photo Without Redrawing the Eyes
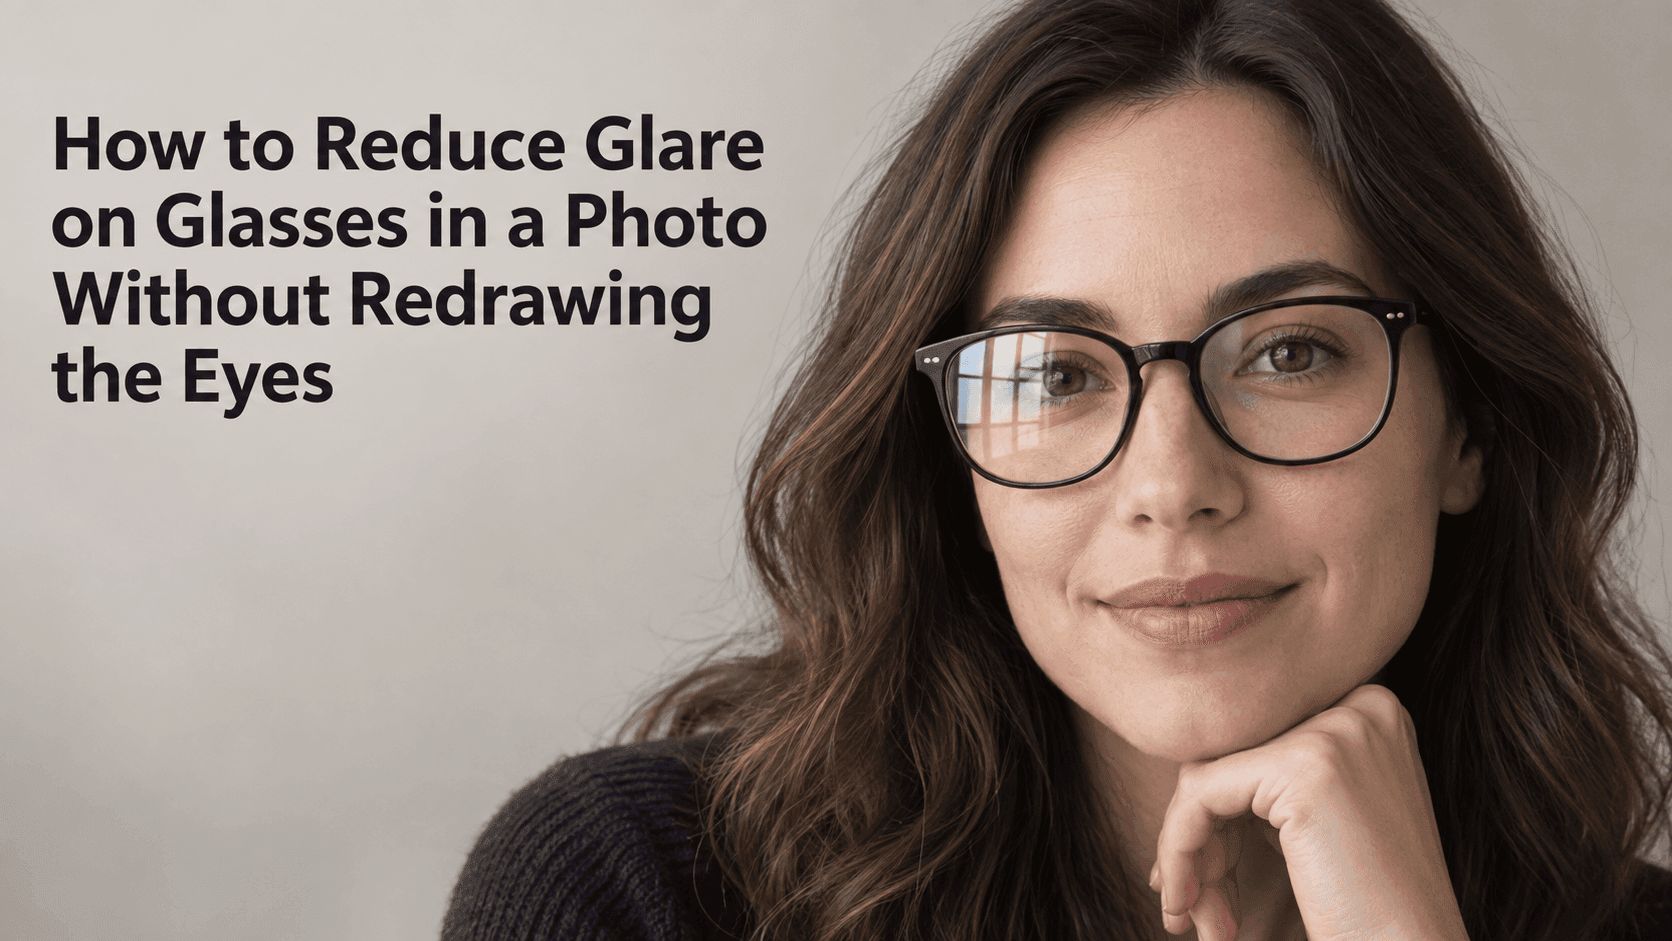
The photo is almost there. The expression feels like the person, the framing is good, and then a bright window reflection cuts across one lens. It is a small flaw, but it lands right on the part of the picture you look at first. If you reduce glare on glasses carefully, that first impression can improve without changing the portrait.
The request sounds simple: reduce glare on glasses. The harder part is keeping the eyes, frames, and expression as they were while you reduce glare on glasses. Generative editors can change nearby details while working on a reflection, so it helps to decide what the source photo can actually support before editing.
Before You Reduce Glare on Glasses, Check What Is Still Visible
Open the original at full size and look through the bright area. Can you still make out the eyelid? Is part of the iris visible? Can you tell which way the person is looking?
Those details give you something to compare against when you reduce glare on glasses. If the reflection is pale and the eye remains visible, a small correction may be enough. If a white patch has erased the eye completely, there is no reliable visual information underneath for an editor to reveal. Any newly generated detail is a guess, even if it looks plausible.
This is the key distinction when you reduce glare on glasses: removing a reflection and inventing the hidden part of an eye are different jobs. Keep the original open beside the edited version so you can check whether the person still looks like themselves. This comparison matters every time you reduce glare on glasses.
Also notice the kind of reflection. A rectangular window shape, a broad wash of light, and a tiny bright spot near the edge may need different treatment. You do not need to describe every pixel, but naming the obvious source can help keep the edit focused.
Write a Prompt That Stays Close to the Problem
In Reveedo’s AI image editor, upload the portrait and describe the change you want in plain language. The editor accepts prompt-based changes, but that does not mean it will preserve every nearby pixel exactly. Treat the result as an edit to review, not a guaranteed repair. Especially when you reduce glare on glasses near facial features, check the original carefully.
If you want to reduce glare on glasses without inviting a broader makeover, a practical first prompt might be:
Reduce glare on glasses only. Soften the bright window reflection on the lens on the left side of the image. Preserve the visible eye shape, iris color, eyelids, gaze, and glasses frame. Keep the skin, hair, expression, background, and lighting unchanged. Leave a faint, natural reflection on the lens.
The words “left side of the image” help avoid a small ambiguity when you reduce glare on glasses. “Left lens” might mean the person’s left or the viewer’s left. If the reflection is on both lenses, say so and ask for a slight reduction on each rather than a complete removal. This keeps the instruction to reduce glare on glasses consistent across the portrait.
Keep the request narrow when you reduce glare on glasses. Phrases such as “make the eyes beautiful,” “perfect the face,” or “make this a professional portrait” invite broader changes. They may alter the skin, eye size, makeup, or expression while the tool tries to satisfy the general request. If the only issue is a reflection, keep the prompt about the reflection.
When you reduce glare on glasses, it is tempting to add many restrictions in one long instruction. A short, specific request is usually easier to evaluate. State what should change, name the facial details to preserve, and leave out unrelated style directions.
Aim for Less Glare, Not Invisible Lenses
A completely reflection-free lens can look strange, especially if the frame and lighting still suggest that the person is wearing glasses. A faint reflection near the edge can make the result feel more believable than a perfectly clear lens pasted over the eye.
If the first version looks too polished, try a gentler instruction:
Reduce the reflection slightly. Keep some natural lens glare. Do not brighten, sharpen, enlarge, or reconstruct the eyes.
A modest change may be enough to reduce glare on glasses and make the eyes easier to see. You can reduce glare on glasses without removing every sign that glass sits in front of the face. The goal when you reduce glare on glasses is a portrait that feels consistent with the original lighting, not a pair of lenses that appear to have vanished.
Compare brightness as well as shape. If the lens becomes much darker than the surrounding face, or one eye suddenly looks more illuminated than the other, the correction may draw more attention than the original reflection did.
Inspect the Eyes and Frames at Full Size
A thumbnail can hide small errors, especially after you reduce glare on glasses and the eye area becomes the viewer’s first point of focus. Once the edit looks promising, zoom in and check the details around both lenses.
After you reduce glare on glasses, start with the gaze. Are the pupils in the same place? Does the person appear to be looking in the same direction? Do the eyelids retain their original shape? A change of only a few pixels can make someone seem surprised, tired, or unfamiliar, so take this step after you reduce glare on glasses.
Then follow the frame around the lens. Check that the rim remains continuous and that its thickness does not change abruptly near the edited area. Look at the bridge over the nose and the temples near the sides of the face. These frame details can shift even when a prompt only asks you to reduce glare on glasses. A bent frame, a softened eyebrow, or a smeared eyelash can make the edit noticeable even when the reflection itself is less distracting.
When you reduce glare on glasses, remember that some bright spots belong to the eyes rather than the lenses. Tiny catchlights are part of the original expression. A prompt that asks to remove every bright area may erase those too.
Finally, zoom back out after you reduce glare on glasses. The portrait should still feel like the same moment, with the same light and mood. If the edit only works when viewed close up, or looks obviously retouched at normal size, step back to the original and try a lighter change.
If the Reflection Covers an Eye Completely
Sometimes one lens has a strong white reflection that hides nearly the entire eye. In that case, repeated prompting cannot recover information that the photo never captured. An editor can create a plausible eye, but you cannot verify that it matches the real person’s appearance in that moment.
If it is hard to reduce glare on glasses without changing the eye, look through nearby frames from the same session. A second image may have a similar expression and a smaller reflection. If the portrait is important, using that original photo is often a better choice than asking a tool to rebuild hidden facial features.
If there is no alternate image, consider whether the reflection is truly worse than a generated replacement before you reduce glare on glasses any further. For a casual social post, you may accept a subtle reconstruction after checking it carefully. For an ID-like portrait, a family keepsake, or any image where likeness matters, keeping some glare may be the more honest result.
This is also a good point to stop editing. If each attempt changes the eye shape or frame, save the closest version and preserve the source. More rounds do not always improve the picture; sometimes they simply add new differences.
A Simple Review Checklist
Before keeping the result, compare the edited image with the original and ask:
- Is the eye shape still the same?
- Has the gaze direction changed?
- Are the frame, bridge, and lens edges intact?
- Does the lens still reflect light in a believable way?
- Did the edit alter the skin, makeup, eyebrows, or expression?
- Does the portrait look natural at both full size and thumbnail size?
These checks take less time than regenerating the image several times after you reduce glare on glasses. They also make it easier to decide whether another edit is needed or whether the result is already good enough.
Keep the Person, Even If a Little Glare Remains
Save the original separately and make one conservative edit first. If you reduce glare on glasses and the face still matches the source, stop there. A successful edit can leave a small amount of glare. Avoid repeatedly editing an already altered face; each pass gives the tool another chance to shift details.
A slight reflection is often less distracting than unfamiliar eyes. The useful test after you reduce glare on glasses is not whether every trace of glare disappeared. It is whether the photo became easier to look at while the person remained recognizable.