



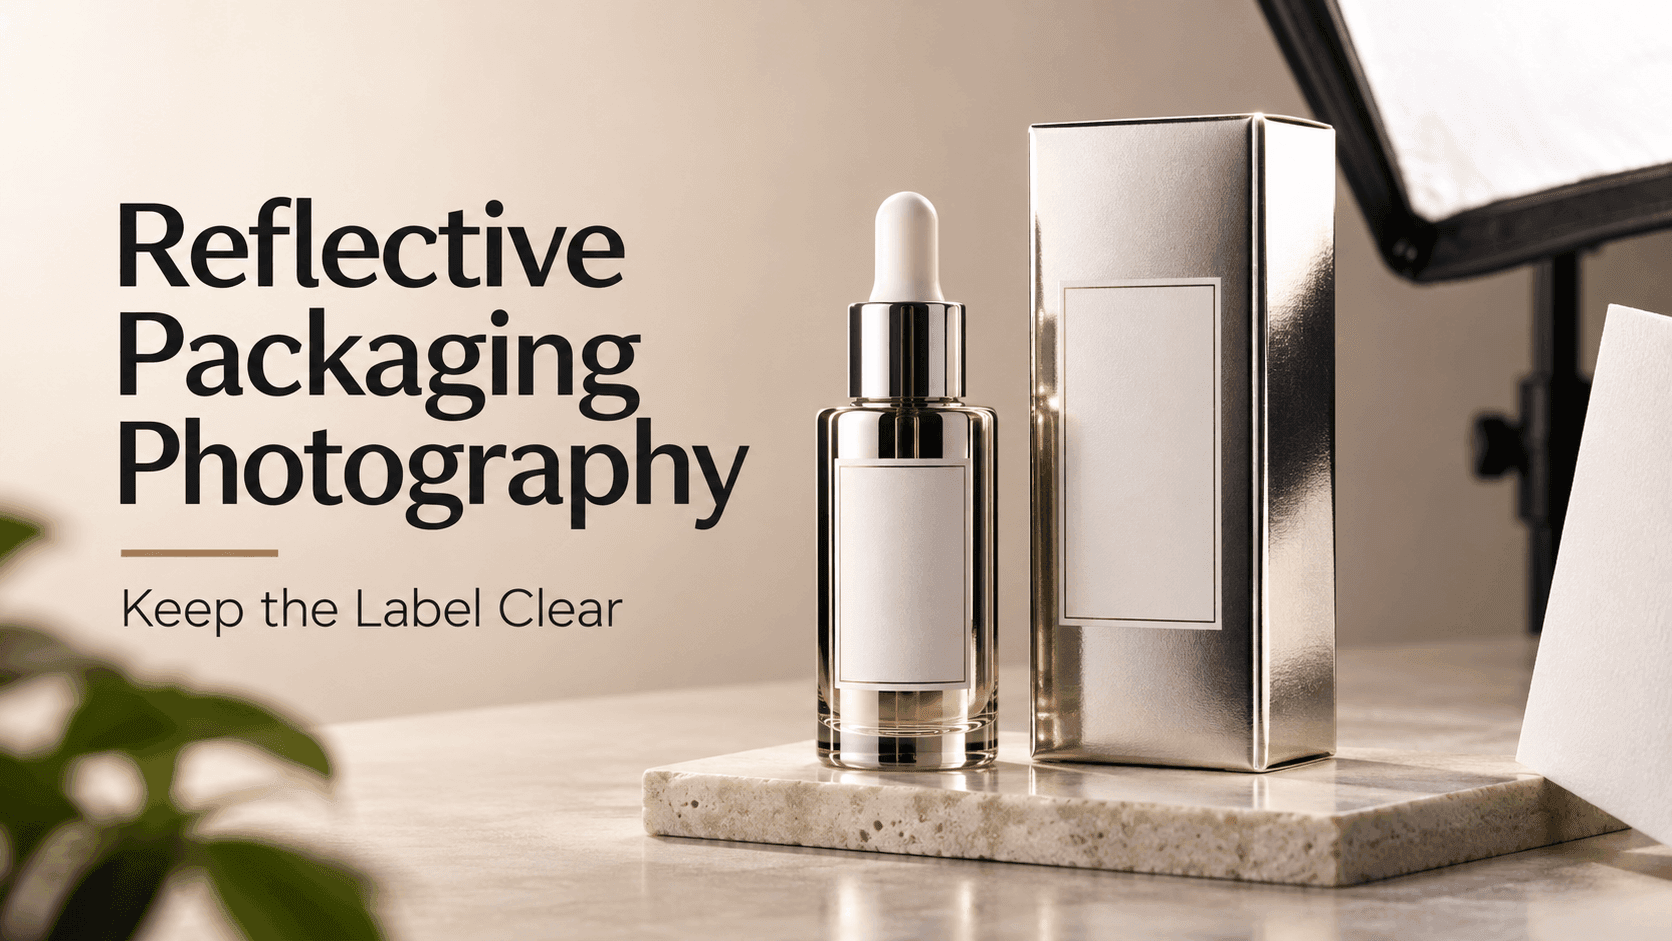
How to Photograph Reflective Packaging Without Losing the Label
How to Photograph Reflective Packaging Without Losing the Label
A bottle can look perfect on the shelf and nearly unreadable in a photo. The label catches a bright strip of light, the cap turns into a white blob, and the shiny packaging reflects the room—including the photographer. When you photograph reflective packaging, the problem is rarely that the product is too shiny. It is that the light source is showing up in the wrong place.
The fix usually starts before you touch the camera settings. Move or soften the light, look at what the surface is reflecting, and make small changes to the product or camera angle. If you need to photograph reflective packaging for a shop listing or campaign, the aim is not to remove every highlight. A controlled highlight can show that a bottle is glass or a box has a foil finish. The label just needs to stay clear.
How to Photograph Reflective Packaging Without Hiding the Label
Start with one product and one light source. Put the package on a clean surface, then move the light until the reflection falls away from the label. A large, diffused source often gives you a broader, softer reflection than a small bare lamp. That reflection may still be visible, but it will be easier to place along the edge of the product.
Move the reflection, not just the camera
A reflective surface behaves like a mirror. It shows the light source and the room from the product’s point of view. That is why moving the camera a few inches may change a glare spot, but sometimes the more effective move is shifting the light or placing a white card nearby.
To photograph reflective packaging, watch the label while moving the light in small increments. If a bright patch crosses the text, raise the light, move it to one side, or angle it slightly away from the front of the package. A piece of white foam board can bounce soft fill into a dark side; a black card can create a darker edge that defines a pale bottle. Keep the cards outside the frame.
The goal is a reflection that describes the shape without covering important information. A narrow highlight along the side can make a cylindrical bottle read clearly. A broad reflection across the center of the label usually cannot.
Find a camera angle the label can live with
A straight-on shot is convenient, but it may place the camera directly in the brightest reflection. Try raising or lowering the camera a little, or turning the product just a few degrees. Check that the label remains readable and that the package still looks like its real shape.
Small changes matter when you photograph reflective packaging. Move the camera, not the product, if the label needs to stay perfectly square. Rotate the product if the label can be slightly angled. Take a test frame after each change; if you adjust the light, camera, and object together, you will not know which one fixed the glare.
For a curved bottle, a slight three-quarter view can show both the label and the contour. For a flat metal tin, a small angle may keep the label visible while letting the lid catch a controlled strip of light.
Separate the label from the material
Not every part of the package needs the same treatment. The label may be matte while the bottle is glossy; a foil seal may shine more than the cardboard around it. When you photograph reflective packaging, light the reflective material for shape, but judge exposure and contrast by the label.
If the text is dark on a pale label, make sure it does not sit in a shadow or under a reflection. If the label itself is glossy, changing the light angle may be more effective than increasing exposure. More brightness can wash out the print without removing the reflection.
A small fill card can lift shadows on the label. For a metallic package, keep an eye on color: a gold box can pick up green or blue from nearby objects. Neutral surroundings make color easier to judge.
Keep the setup repeatable across multiple products
A single successful frame is useful; a repeatable setup is better. Mark the position of the light and camera with tape. Note the distance from the product to the background. When you photograph reflective packaging for several items, those notes help keep the catalog consistent.
The products may differ—a tall pump bottle, a flat pouch, a small jar—but the starting arrangement can stay similar. Adjust the reflector or angle for each shape rather than rebuilding the whole set. Photograph one test product from the line, check the label, then move on.
A tripod helps keep framing steady while you make these adjustments. It also makes it easier to compare test images side by side instead of relying on memory.
Check the file before packing up
Zoom in on the label, not only the thumbnail. Look for a reflection crossing small print, softened edges, fingerprints, dust, and a cap that blends into the background. It is much cheaper to move a card or wipe the package now than to discover the problem while preparing a full product page.
When you photograph reflective packaging, capture a few variations with small changes in angle or light position. Keep the best frame and compare it with the actual item. The packaging should look polished, but colors, label text, and product details still need to be accurate.
Editing can remove a minor distraction, but it should not be used to invent or rewrite label information. If you are building an alternate background or adjusting the surrounding scene after the shoot, Reveedo’s AI Image Editor can help you explore those visual changes. Keep the product itself faithful to the item customers will receive.
The next time you photograph reflective packaging, begin by looking at the reflection as part of the composition. Move the light until it describes the package instead of covering the label. A small shift in a softbox or a card can do more than a long session of exposure adjustments—and the result will still look like the real product.