



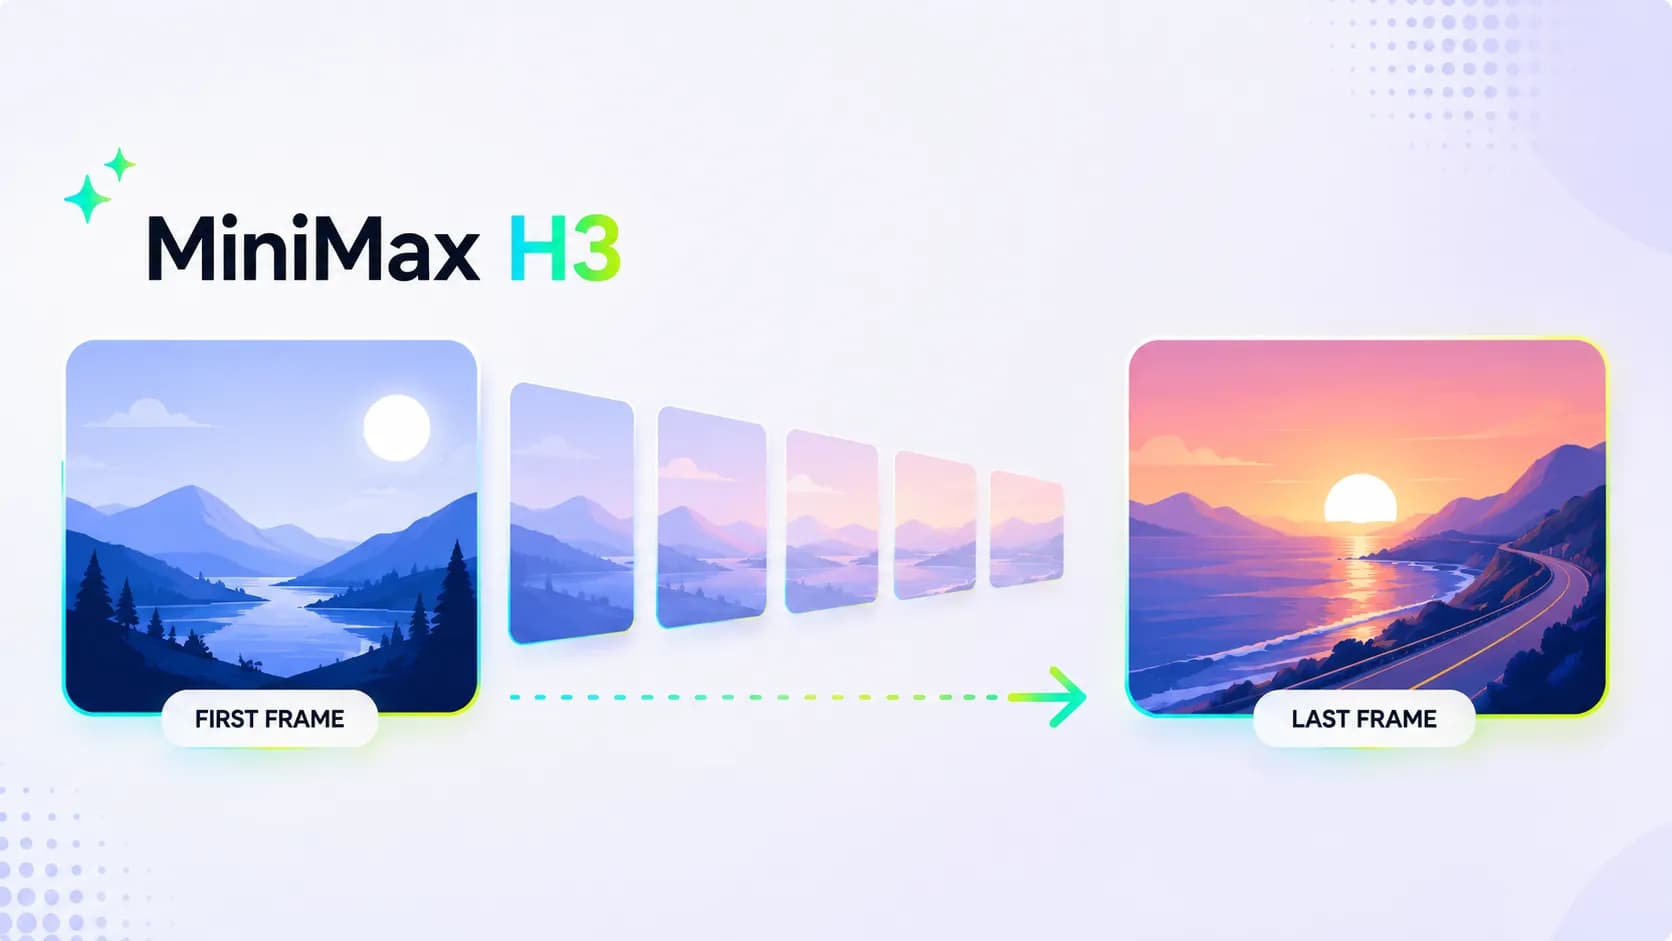
MiniMax H3 First and Last Frames: Direct the Transition
Two good-looking images won't automatically turn into a good-looking video.
That's one of the most common mistakes in first-to-last-frame generation. The first image might be a woman standing by a window, and the last image might be the same person on a balcony at sunset. If your prompt only says "she walks to the balcony," you're leaving too much open. Where does she walk from? Should the camera follow her? How does the indoor light transition to outdoor light? Is the final image a close-up, a wide shot, or a completely different space?
MiniMax H3's first-to-last-frame mode treats your first image as the opening and your second image as the ending. The real job of your prompt isn't to describe those two images again. It's to explain what happens between them.
This guide will show you how to make first-to-last-frame prompts come alive, how to use MiniMax H3 to get the effect you actually want, and how to make the transition feel like a real action instead of a jump from one image to another.
What First and Last Frames Actually Control
In MiniMax H3's FL2VA workflow, the first image anchors the start of the video, and the second image anchors the end. Your prompt describes the continuous visual path between them. MiniMax's prompting guidance suggests starting from the opening state, spelling out the visible changes, and then gradually moving toward the final state. Unless you specifically need a cut, a single continuous shot tends to produce more coherent results.
Don't think of this as "make image one turn into image two." A more useful way to frame it is:
What moves first?
What has to stay the same while the image changes?
How does the camera get from the composition in the first image to the composition in the second?
What needs to land exactly on the final frame by the last second?
Answer those four questions and you have the basic structure of your prompt.
Start with a Pair of Images That Connect Naturally
The best first-to-last-frame pairs aren't necessarily the most similar images. They're images with a logical bridge between them.
For example: a cyclist stands next to the bike, holding a closed umbrella. In the final image, the same person is already standing under the open umbrella. The action between them is clear: let go of the handlebars, lift the umbrella, open it, and step underneath.
On the other hand, if the first image is a close-up of a face in a bedroom and the last image is a wide shot of the same person on a mountain top, a single line telling her to go up the mountain will almost always produce something that feels off. It's not impossible, but the result will probably look unnatural. In that case you need a clear piece of visual language: a door closing in front of the camera, a train passing through the foreground, a quick whip pan to a mirror, a reflection, or an explicit cut. Without a clear cue, the model may struggle to understand exactly what you mean.
Before generating the images, take a minute to compare the two frames and write down what changes.
Same person: yes
Same clothing: yes
Same location: yes
Shot change: medium to close-up
Required action: raise hand and open umbrella
Lighting change: none
That quick summary already tells you whether you should aim for a continuous shot or whether you need more of a transition.
Don't Describe the Two Images—Describe the Action in Between
This kind of prompt is common, but it tends to fall flat and produce a weak result:
In the rain, a woman stands next to a bicycle. In the rain, a woman stands next to a bicycle holding an umbrella.
Both images are described correctly, but nothing in between is explained.
Try this instead:
Start from the pose and composition of the first image. The cyclist lets go of the handlebar with her right hand, picks up the closed black umbrella from beside the frame, and gently pushes it open until the canopy is fully extended. Rain runs off the surface as she steps forward under the umbrella, then turns the handle to match the angle in the second image. The camera moves back slightly at a slow, steady pace. Keep the bicycle, the yellow raincoat, the wet road, and the rainfall consistent throughout. End exactly on the pose and composition from the second image.
What makes this work are the verbs and relationships: let go, pick up, push open, step under, turn. They explain how one action leads into another. The final sentence tells the model that the second image isn't just a mood reference—it's the exact endpoint the video has to reach.
A Prompt Order That Works for MiniMax H3
You don't need a complicated template. Just follow this order:
Opening anchor
→ Visible action and state changes
→ Camera movement
→ Elements that must stay consistent
→ Landing on the final frame
Here's an example for a product shot:
Start from the first image: a matte black perfume bottle sits on a light stone shelf in soft morning light. A hand enters from the side, picks up the bottle, and slowly turns it so the glass catches the light from the window. The hand places it on the vanity table from the second image, next to the open linen curtain. The camera follows with small, smooth movements and settles into the wider composition from the second image. Keep the bottle's silhouette, label, cap, stone texture, and warm lighting consistent. Write "Reveedo" on the bottle.
It doesn't ask for an "elegant transition." It explains where the bottle is picked up from, where it's placed, and how the camera follows.
Tell MiniMax H3 Exactly What Must Not Change
When generating first-to-last-frame video, you need to control that the same face, the same clothing, the same product, and the same space don't drift during the motion. Name those anchors directly.
For a person, specify the face shape, hairstyle, clothing, and direction they're facing. For a product, specify the shape, packaging, label, material, and color. For an interior scene, be clear about the specific furniture placement, time of day, and main light source.
Keep her face, short black hair, beige coat, and the blue train carriage consistent throughout.
That kind of line tells MiniMax H3 where the real priorities are, much better than saying "keep everything perfect, realistic, high-definition, and unchanged."
Camera Movement Helps Bridge the Change
When the two images are similar, the quieter the camera, the better. You can use a locked-off shot, a slow push-in, or a slight lateral move. That gives the model a clear path without asking too much.
When the two images are very different, the camera can become part of the transition, but there should be a visual reason for it. If a person changes position in the same room, you can track sideways. If a product goes from a close-up to a wider lifestyle scene, you can pull back as the product is picked up or set down. If the two locations are far apart, use a door, a curtain, a foreground object, a mirror, or an explicit cut as the bridge.
Try not to cram "aerial shot, handheld, fast orbit, locked close-up, slow push-in" into a single sentence. Pick one camera move that can actually carry the viewer from the beginning to the end.
Three MiniMax H3 First-to-Last-Frame Prompt Examples You Can Use
From an Indoor Portrait to a Balcony
The first image shows a woman standing quietly beside a floor-to-ceiling window in an apartment. The final image shows her standing on a balcony at sunset.
Start from the composition in the first image: the person stands by the window, one hand resting on the curtain. She pulls the curtain aside, turns toward the balcony door, and walks over without rushing. The camera follows a step behind her. As she moves outside, the room gradually leaves the frame, and sunset light catches the edges of her hair and coat. She places both hands on the balcony railing and looks out at the city, finally landing in the pose and wider framing from the second image. Keep the face, shoulder-length hair, beige coat, apartment interior, and warm sunset tones as consistent as possible. The quiet indoor ambience gradually shifts to distant traffic sounds and an evening breeze.
From a Product Close-Up to a Lifestyle Scene
The first image is a close-up of a wireless speaker on a kitchen counter. The final image shows the same speaker on the dinner table at a small gathering.
Start from the close-up of the speaker in the first image. A person picks up the speaker with both hands and walks past the camera. As the speaker briefly fills the frame, the camera follows the movement into the dining room. The person sets the speaker down at the center of the table, pulls out a chair, and friends enter in the background. End on the wide composition from the second image, with the warm glow of the pendant light and the speaker clearly visible. Keep the speaker's matte black finish, woven grille, size, and logo placement unchanged. After the speaker is set down, faint sounds of cutlery and conversation begin.
A Fashion Pose Transition
The first image shows a model in a red dress with her back to the camera. The final image shows her facing the camera under a streetlight.
Start from the pose and composition in the first image. The model walks forward two steps at a relaxed pace, then turns to her left as the breeze moves the hem of the red dress. The camera stays at a medium distance and slowly arcs from behind her to the front. After the turn, she lifts her chin and holds the final pose under the streetlight. Keep her face, hairstyle, red dress, earrings, wet road surface, and warm streetlight reflections consistent. No extra people should appear in the foreground.
Four Common Problems with MiniMax H3 First-to-Last-Frame Transitions
Too many changes between the two images. Changing clothes, time of day, location, or scenery is fine, but don't expect one sentence to handle it automatically. Reduce the number of changes, or write out the transition device that connects the two ends.
The prompt jumps straight from the beginning to the end. "She becomes the final pose" is not an action. Be specific about how the hands, feet, objects, or camera move.
The final frame isn't treated as the destination. Spell out the final pose, composition, and key objects that need to arrive at the second image. Otherwise the video may just end on a similar-looking frame instead of the exact one you want.
More camera movement than action. If the person is just opening a letter, the camera doesn't need to say much. Let the action be the center of the shot.
How to Revise Faster When You're Close
Watch the generated result all the way through, then find the first place where something goes wrong.
If the person changes, add the specific identity details that are missing. If the ending pose is wrong, describe the final two movements more precisely. If the middle looks good but the final frame arrives too abruptly, slow the camera down or add an intermediate action. If the transition itself looks impossible, don't keep piling on adjectives—reconsider whether the two images can be connected at all.
The most effective way to use first-to-last-frame generation is to treat the middle as a real piece of movement. The first image gives you the starting point, the second image gives you the destination, and the prompt defines the route.
Ready to put this into practice? Try MiniMax H3 in Reveedo.