



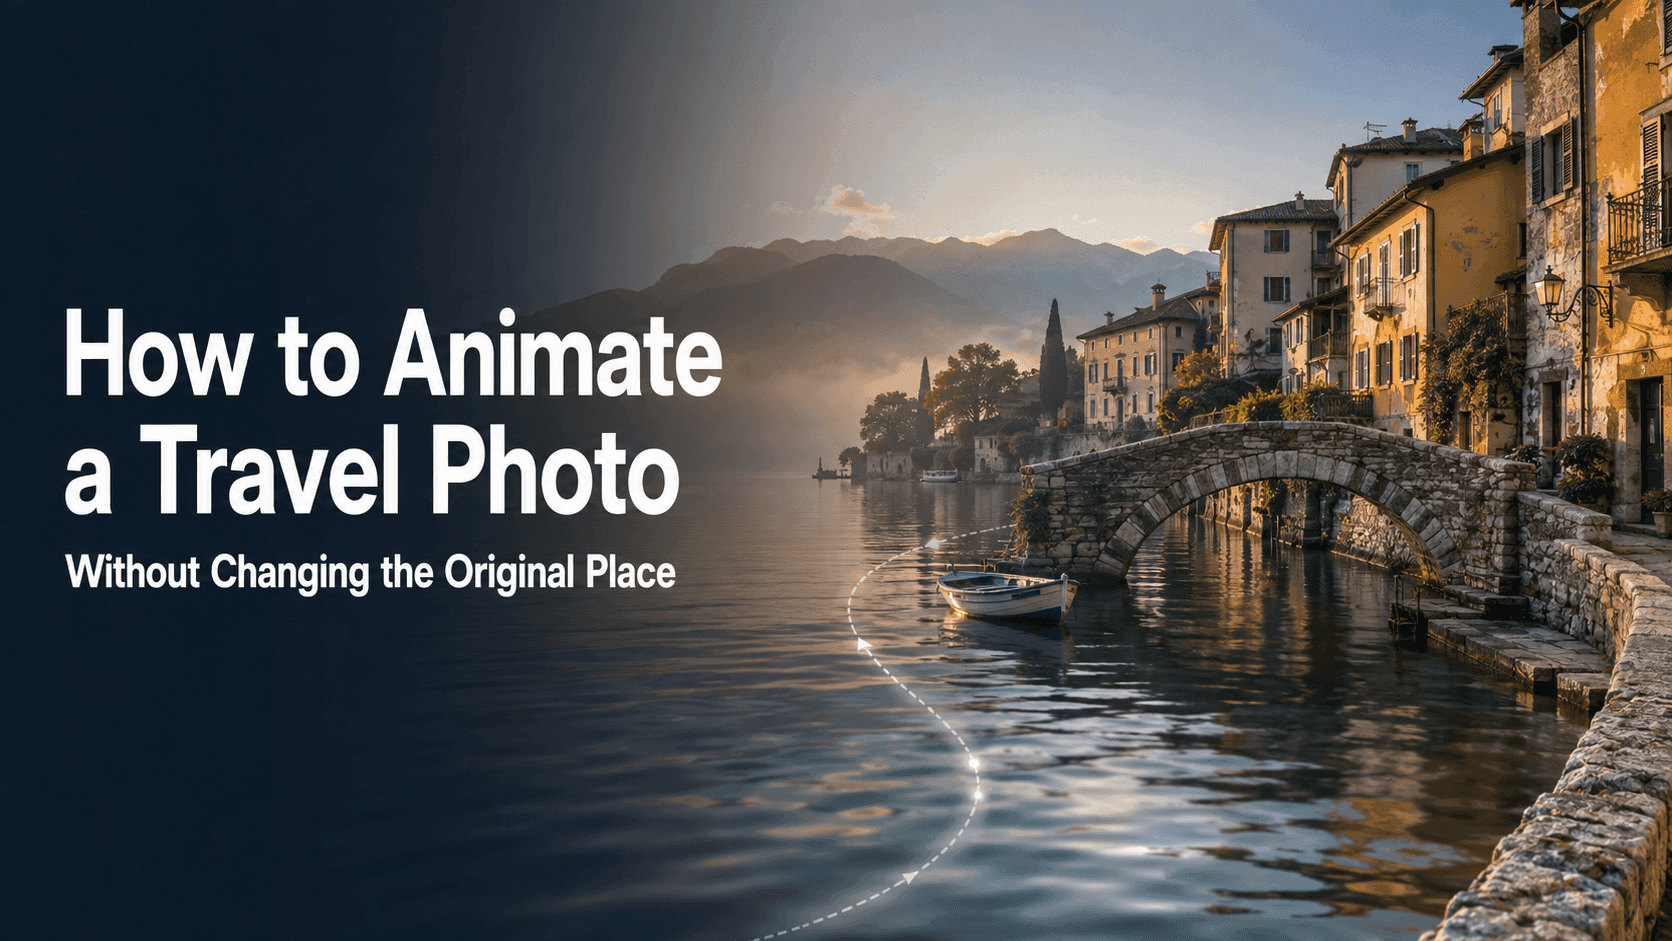
Animate a Travel Photo Without Changing the Place
How to Animate a Travel Photo Without Changing the Original Place
There’s something about a travel photo that goes beyond looking nice—it holds the memory of exactly where you were standing and what you saw. When I turn one into a short video, I’ve learned not to pile on things that were never there. The goal is just to let that moment come alive a little.
Maybe the sea rises and falls gently, clouds drift slowly over the mountains, or someone walks past a window on the corner. That’s usually enough. If the camera flies around too fast and the sky, buildings, and shops all start changing, you end up with something cool—but it no longer feels like your trip.
After uploading a photo to Reveedo, I start with a very short, restrained clip. Keeping the place itself matters more than stacking up effects.
Start by figuring out what absolutely can’t change
Before you do anything, look at the original image. What do you care about most? It might be a bridge, distant snow-capped mountains, a colored tram at the intersection, or the way a seaside path curves. If any of those change, people immediately feel like it’s not the place they photographed.
You don’t need to describe every single stone in the prompt. Just spell out the parts that really matter. For example: keep the stone bridge, the river, the red rooftops, and the original composition unchanged. That’s far more useful than saying “make it look cinematic.”
This is especially true for famous landmarks. A tower, an old building, or a city skyline is already recognizable enough—you don’t need to generate new buildings or strange decorations around it.
Pick just one thing that naturally moves
Most travel photos already contain elements that can move on their own. Water can ripple, clouds can drift, flags can flutter, a distant train can pass by, or people on the street can take a few steps forward.
Choose one—not all of them. If a short video asks for waves, birds, crowds, a rising camera, changing light, and a person turning around all at once, the model has too much to handle. The original scene is more likely to get messed up.
Think about it by location:
- For a beach photo, let the waves roll in gently, or let the grass sway a little in the wind.
- For a city street, let a few distant pedestrians walk naturally, or let a tram pass through the frame.
- For a mountain view, let the clouds move slowly and add a very light camera push.
- For a café photo, use steam rising from a cup of coffee or the blur of people outside the window.
Most of the time, the smallest movement does the best job of bringing back the feeling of being there.
Don’t drift too far from the original viewpoint
Travel photos usually aren’t random snapshots. You might have waited a long time for a certain light, or found a specific angle to fit the scenery into the frame. Over-the-top orbiting shots or drone-style ascents can easily ruin a composition that originally worked.
For most photos, try a slow push-in, a slight pull-back, or a small pan first. These add a bit of depth without forcing the frame to “invent” too much beyond what was already there.
For a landscape with water and mountains, you could write:
Keep the valley, lake, path, and composition from the original photo unchanged. The camera pushes in very slowly toward the lake. Thin clouds move naturally, and the water has slight ripples. Preserve the original colors and location details.
For a street scene, keep it even simpler:
Keep the buildings, shop signs, road, and original composition unchanged. A few distant pedestrians walk naturally, and the camera moves forward gently and steadily. Preserve the real look of this street.
Both prompts say what to keep first, then what can move. The order is simple, but it works.
When there are people in the photo, keep movements even smaller
When friends or family appear in travel photos, it’s tempting to make everyone move. But a group of people turning, waving, and walking at the same time often makes the video look staged rather than like a real travel memory.
Pick one small action instead. Maybe one person takes half a step forward, looks into the distance, or has the edge of their jacket lifted by the wind. If the people are far from the camera, just leave them almost still and let the clouds, water, or street provide the motion. That usually works better.
The same goes for animals, vehicles, and busy markets. Let one subject carry the movement while everything else stays quiet, and the scene will feel more natural.
Let the weather and light follow the original photo
Weather is one of the quickest ways to turn one place into another. If the original is a bright midday shot and you add heavy rain and a purple sunset, the result might look beautiful—but it’s no longer the memory from your trip.
Try to stay close to the original lighting. A sunny beach can have a bit of moving light on the water. A misty morning mountain scene can have the fog slowly lifting. A street after rain can have small ripples in the puddles, or an umbrella passing in the distance. The direction and intensity of the light shouldn’t stray too far from the original.
If you really want a more stylized version, generate it separately. Save the version that looks like the original first—then you can experiment as much as you want without losing it.
After generating, don’t just stare at the middle of the frame
When checking the result, look beyond the main subject. Pay attention to the edges and the distant background. A lot of small problems don’t show up right away, but if you look carefully, you’ll notice the place has been quietly altered.
Before saving, quickly check:
- Are the landmarks, rooftops, bridges, and ridgelines still correct?
- Have signs, road markings, or flags turned weird?
- Did any unfamiliar buildings appear or familiar ones disappear during the camera movement?
- Are people, hands, bags, and bicycles still clearly separated?
- Do the movements match the weather and time of day in the original?
If something looks off, don’t rush to make the prompt longer. Remove one action, shorten the camera movement, or swap in a simpler environmental change. That usually fixes things faster.
A repeatable workflow you can use again and again
When you have many photos from the same trip, follow the same order for each one: first make a quiet version close to the original; pick one environmental action and add a small camera move; then check whether the place has changed. Once that version feels solid, you can try a slightly more playful second version.
This works great for travel recaps, Reels, or photo collections. A group of short clips with a similar rhythm feels much more comfortable to watch than a random mix of flashy effects. One clip has water ripples, another has a slow pan, another has clouds drifting—and they still feel like they belong to the same trip.
One last thought
A good travel photo animation shouldn’t steal attention from the photo itself. It just makes you linger a few seconds longer: the water is moving, the light is shifting, and the place still looks the way you remember it.
Start with small movements, protect the landmarks and composition that matter most, and then give the image one quiet reason to come alive.