



AI Food Image Generator for Restaurant Menus: Create a Cohesive Set of Dish Photos
AI Food Image Generator for Restaurant Menus: Create a Cohesive Set of Dish Photos
A menu photo has a quiet job: help someone decide what to order. It does not need to look like a national ad campaign. It needs to show the dish clearly, feel like it belongs to the restaurant, and avoid promising something the kitchen does not serve.
That is where an AI Food Image Generator can be useful. It gives a restaurant a way to test visual directions before organizing a photo shoot or redesigning the whole menu. The best results usually come from starting with the actual dish and making a few deliberate choices about light, plate, and setting.
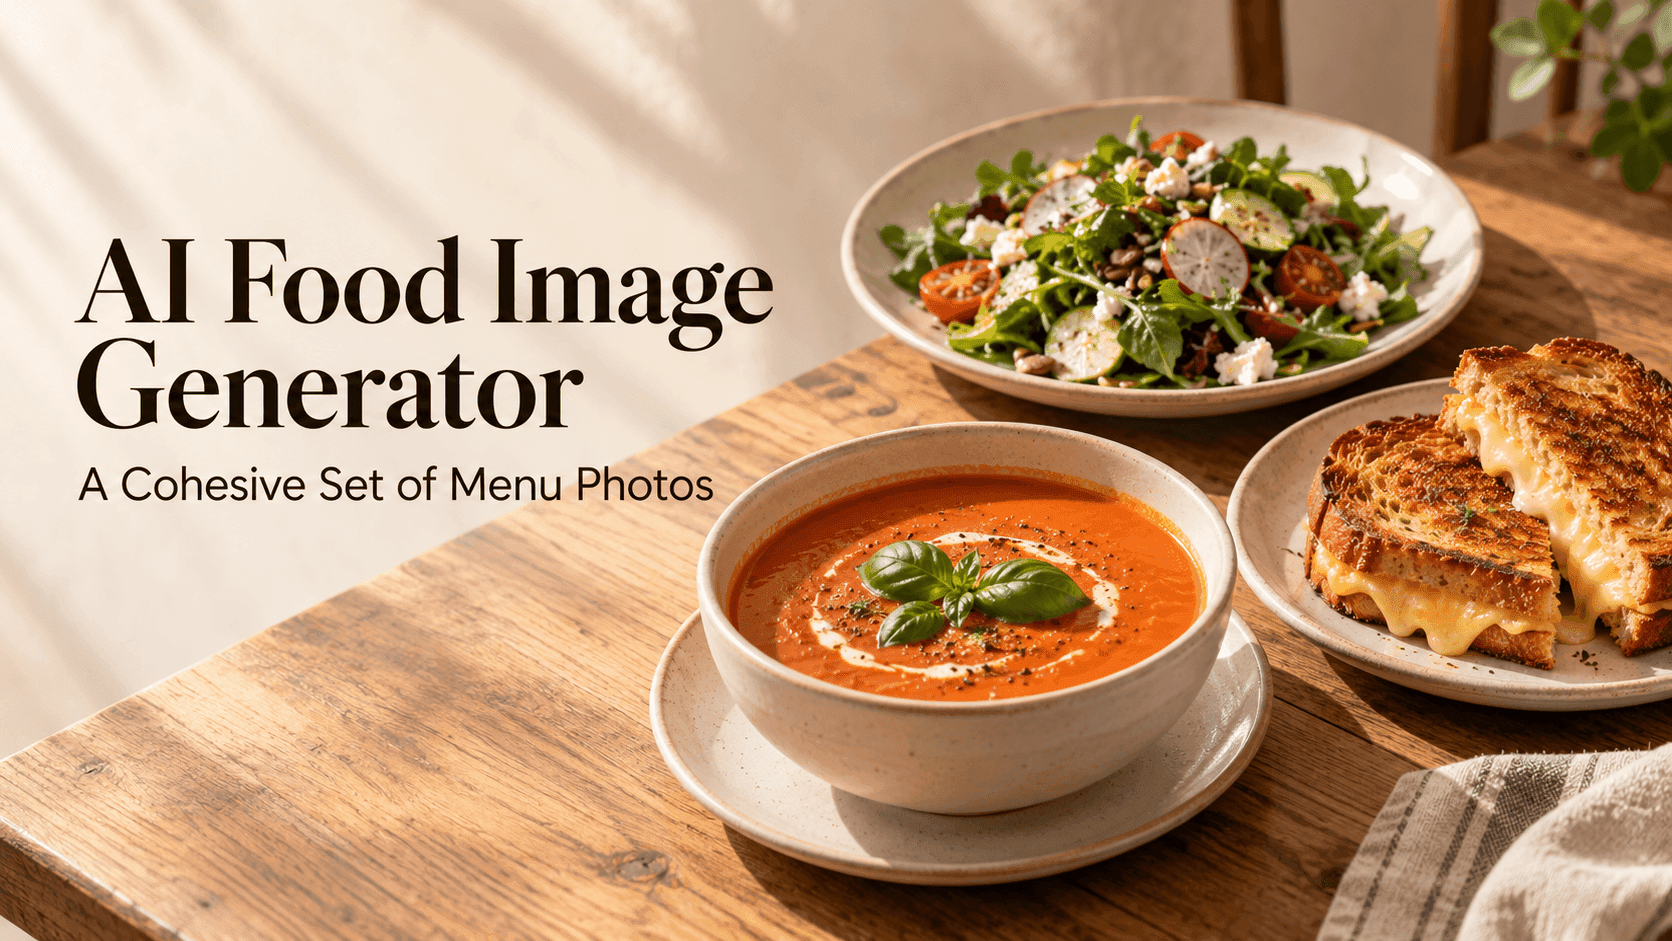
Picture a small lunch café with a tomato soup, a grilled cheese, and a seasonal salad. The images do not need the same plate or background. But if one is a close-up under hard studio light, another is a dim overhead shot, and the third is styled like a luxury hotel, the menu will feel unsettled. A shared visual approach can make those differences feel intentional.
How an AI Food Image Generator Can Unify Menu Photos
Start by deciding what the restaurant feels like to a customer. A neighborhood café may want the food to look relaxed and generous. A bakery might prefer close views of flaky layers and browned edges. A family restaurant may need familiar, straightforward photographs rather than elaborate styling.
Write down a few visual cues before opening the AI Food Image Generator: the kind of light, the surfaces, the camera distance, and the colors that appear in the restaurant itself. Keep the list short. “Soft window light, pale ceramic plates, warm wood” is a workable direction. “Beautiful, appetizing, premium, rustic, modern” gives the tool several moods that may not belong together.
Begin with the food that is actually on the menu
Describe the dish first. For a tomato soup, mention its color, texture, garnish, and bowl. For a salad, name the greens and the ingredients that make it recognizable. The AI Food Image Generator needs those details more than it needs a long story about the restaurant.
Try: “Roasted tomato soup in a shallow cream bowl, a small swirl of cream, basil leaves, and one slice of toasted sourdough on a light oak table.” That gives the image a subject and a setting without burying the soup under props.
This distinction matters when customers use the image to choose a meal. Do not add a side dish, sauce, or garnish that is not included. If a recipe changes seasonally, make sure the photo reflects the version currently being served.
Choose a look you can repeat
A menu can have variety without looking like a collage of unrelated photos. Choose a few features to repeat: perhaps soft daylight, natural shadows, and a mix of close-up and three-quarter views. An AI Food Image Generator can then help you explore how different dishes fit within those boundaries.
Test the direction on one representative dish before generating a whole menu. A signature sandwich or popular dessert works well because the team can judge whether the result still looks familiar. If the first image feels too polished for a casual café, change the surface or lighting before moving on.
A useful style note might read: “Natural afternoon light, pale stoneware, warm wood, no glossy reflections.” Reuse it, then adjust the dish-specific details. The images will not be identical, but they will share a visual rhythm.
Keep lighting practical, not just attractive
Lighting changes the food. A hard reflection can make a sauce look oily; a strong warm cast can turn a green herb dressing brown. In an AI Food Image Generator, describe where the light comes from and how it falls on the plate. “Diffused daylight from the left, soft shadow below the bowl” is more helpful than “nice lighting.”
Look at how the image treats the table as well. A natural contact shadow helps the plate feel grounded. If the dish appears to float, or the shadows point in several directions, the picture may feel artificial even if the food looks appealing.
Keep the light similar across a set, but do not force every dish into the same brightness. A dark chocolate cake may suit a deeper background than a bright green salad. Consistency should support the food, not flatten it.
Check color and portion against the real dish
The generated image is a visual draft, not the kitchen’s source of truth. Compare it with the dish as served. Does the soup have the right color? Is the sandwich larger than the actual portion? Has the image added cheese, herbs, or a sauce that is not part of the recipe?
An AI Food Image Generator may interpret ingredients differently as the angle or lighting changes. That is why it helps to review the entire menu, not just approve each attractive image on its own. A customer should not be surprised by a major difference between the photo and the plate.
This check is especially important for dietary descriptions. Never let an image imply that a dish is vegetarian, dairy-free, or free from a particular ingredient unless the restaurant has confirmed it. Keep the written menu accurate, and treat the picture as supporting material.
Leave room for the places the image will appear
A photo for a printed menu may need a different crop from a delivery listing or a social post. Decide on the use before generating. A square frame can suit a grid of dishes, while a wide crop may work better for a website banner.
Tell the AI Food Image Generator where the dish should sit in the frame. “Centered with space around the plate” is a good starting point. If the image needs room for a price or short label, say so; otherwise, the food may land directly where the text should go.
If you already have a dish photo and want to adjust its scene, Reveedo’s AI Image Editor offers prompt-based editing. For a new concept, try the AI Image Generator. In either case, compare the result with the real menu item before publishing it.
A prompt worth adapting
A prompt does not have to sound like a recipe card or a catalogue brief. Separate the facts about the food from the choices about the photograph:
A grilled cheese sandwich with golden-brown sourdough and visible melted cheddar, cut once to show the filling. Serve it on a simple cream plate on a warm wooden table. Photograph from a gentle three-quarter angle in diffused window light. Keep the portion realistic and leave a little space around the plate. No extra sides, text, or decorative props.
That kind of AI Food Image Generator prompt is specific where it needs to be and restrained everywhere else. Change the dish description for each menu item, but keep the restaurant’s visual notes nearby.
Review the full menu before using the images
Place the images side by side, preferably at the size customers will see them. Look for a shared color temperature, similar shadow softness, and a consistent level of detail. Then ask the more important question: does every dish still look like something this restaurant would serve?
Keep the images that help customers understand the food. Rework the ones that look misleading or out of place. An AI Food Image Generator is most useful as a way to explore and compare visual options; the restaurant still has to make the final call.