



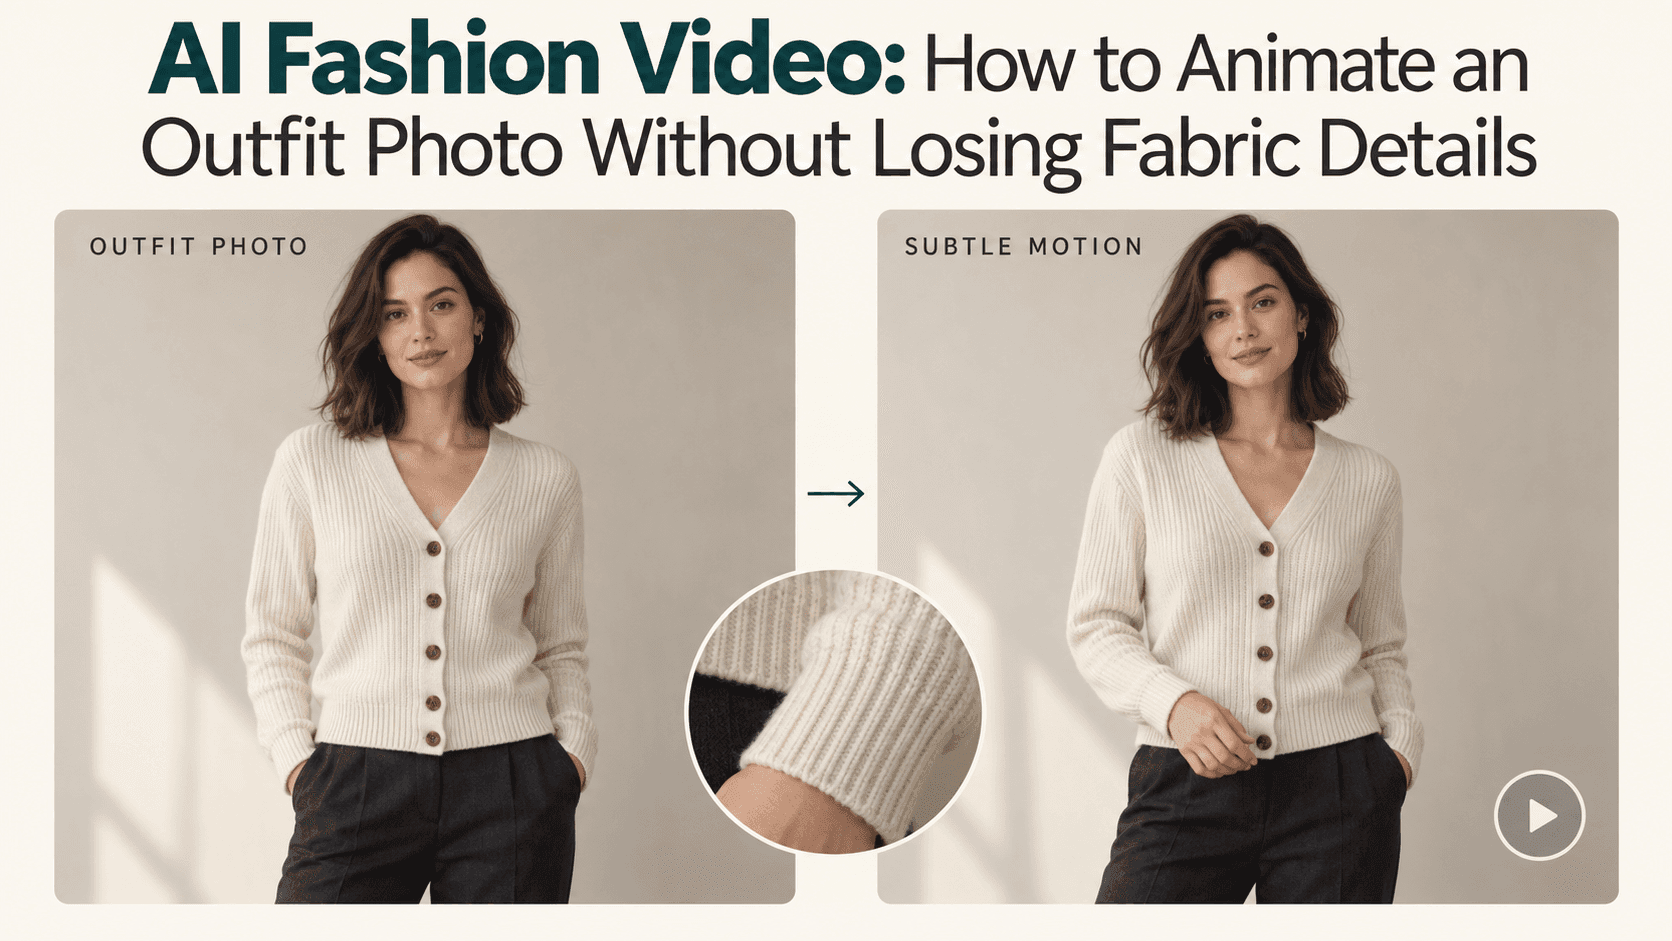
AI Fashion Video: Animate Outfits Without Losing Fabric Details
AI Fashion Video: How to Animate an Outfit Photo Without Losing Fabric Details
The outfit looks right in the photo. You can see the ribbing on the cardigan, the line of the shoulder seam, and the way the skirt sits at the waist. Then you animate it. The person moves, but so does the pattern on the fabric. A button disappears. The sleeve looks longer by the end of the clip.
That is where an AI Fashion Video can become less useful than the still image you started with.
For an outfit post, these changes are distracting. For a product video, they can misrepresent the clothing. A good-looking clip still needs to show the garment you meant to show.
The first thing to reconsider is usually the movement.
Start with a movement the photo can support
A front-facing outfit photo gives you a clear view of the front of the garment. It tells you much less about the back, the side seams, or what happens underneath a folded sleeve.
Asking the person to turn around creates a problem: the video has to show details that were never visible in the source image. A longer prompt cannot supply the actual construction of the clothing.
For a first attempt, keep the person close to the original pose. A small shift in weight may be enough to make a still outfit feel less static. So might a slight movement of one arm, provided it does not cover the garment.
There is nothing wrong with a restrained result. If the point of the video is to show a jacket, viewers need time to see the jacket.
An AI Fashion Video prompt for a simple outfit shot
Suppose your image shows someone standing in a cream cardigan and dark trousers. The cardigan has a visible row of buttons and a fine ribbed texture.
You could start with:
The person gently shifts their weight while remaining front-facing. Their arms stay relaxed beside the body. The cream cardigan keeps the same button arrangement, ribbed texture, neckline, and sleeve length as in the photo. Small folds adjust around the elbows and waist. The camera stays fixed, and the lighting remains steady.
This gives you one main action and a short list of garment details to check afterward.
Avoid adding a walk, a turn, a camera orbit, and moving hair just to make the shot sound more interesting. If the first version fails, you will have a harder time working out which request caused the trouble.
Also, treat instructions such as “keep the same buttons” as requests, not guarantees. You still need to look at the result.
Pick a photo where you can actually see the clothing
Before rewriting a prompt, look closely at the original image.
Can you count the buttons? Can you follow the edge of the cuff? Is the pattern visible, or does it already dissolve into blur when you zoom in?
If a detail is unclear in the photo, the generated video may invent a cleaner-looking version of it. That can be attractive without being accurate.
Choose a source image with enough room around the body to show the garment comfortably. A cropped elbow or hidden hem leaves you with less to work from. Hands tucked into pockets can also obscure the fit around the waist and hips.
For a knitwear shot, soft, even light is useful because you can see both the texture and the folds. A heavily edited portrait may have beautiful skin tones but very little surviving fabric detail.
You do not need a perfect studio image. You need one that clearly shows what matters.
Knitwear needs different movement from a loose dress
A thick sweater does not move like a lightweight skirt. Giving both the same “flowing fabric” instruction can lead to an odd result.
For knitwear, keep the movement small:
The person makes a slight, relaxed adjustment in posture. The knitted fabric forms small folds near the elbows. The ribbing follows those folds, with the original neckline, cuffs, and hem still visible.
Watch the texture during playback. The stitches should appear attached to the garment. If they slide across the chest while the sweater stays in place, the clip will feel wrong even when no single frame looks especially bad.
With a loose dress, there is more room for fabric movement:
The person gently shifts their weight without turning away. The lower part of the dress sways slightly, then settles. The waistline, print placement, and hem length stay consistent with the reference photo.
Keep the request modest. A dramatic gust of wind may produce an appealing shape, but it also asks the model to invent much more of the garment.
And remember that an animated preview is not evidence of how the real fabric drapes. It cannot establish weight, stretch, or fit from a photograph alone.
Check the garment, not just the person’s face
It is easy to watch the face and miss everything below it. On a second viewing, ignore the expression and follow one clothing detail through the whole clip.
Start with the button row. Then check a seam, a pocket, or a distinctive part of the print.
A few useful questions:
- Does the same number of buttons remain visible?
- Does a stripe continue across a fold, or break halfway through?
- Does the cuff stay separate from the hand?
- Does the hem keep a believable length?
- Does the material change from matte to glossy without a lighting reason?
Pause near the beginning, middle, and end. Then watch the video at normal speed again. Some problems are easier to spot in still frames; others only show up as crawling or flickering during movement.
If the clip is for a shop or an advertisement, check logos and lettering especially carefully. A pleasant overall impression does not make an altered brand name acceptable.
When something changes, simplify the next attempt
Say the cardigan looks fine until the person raises an arm. At that moment, the cuff blends into the hand and the sleeve becomes wider.
The next attempt does not need a longer paragraph about perfect sleeves. Remove the arm lift first. Keep the weight shift and see whether the problem remains.
If the print still changes while the person barely moves, return to the source image. A clearer photo may help more than another instruction.
Use the same approach on Reveedo: start with the outfit photo, describe one small action, and compare the result against the original. Keep the source and settings consistent where possible, so you can tell what your prompt change actually did.
A simpler shot gives you fewer things to troubleshoot.
Stop before the movement stops helping
Not every outfit photo needs to become a walking sequence. A few seconds of gentle movement can be enough for a fashion post, a collection preview, or an opening shot.
Choose the version that keeps the clothing recognizable throughout. If one generation has a more dramatic pose but changes the neckline, it is not the better product shot.
Sometimes the strongest result is almost quiet: a person shifts their stance, a fold relaxes, and the garment remains easy to see. The video has added movement without taking attention away from the clothes.