



AI Background Changer: Keep Hair Edges Looking Natural
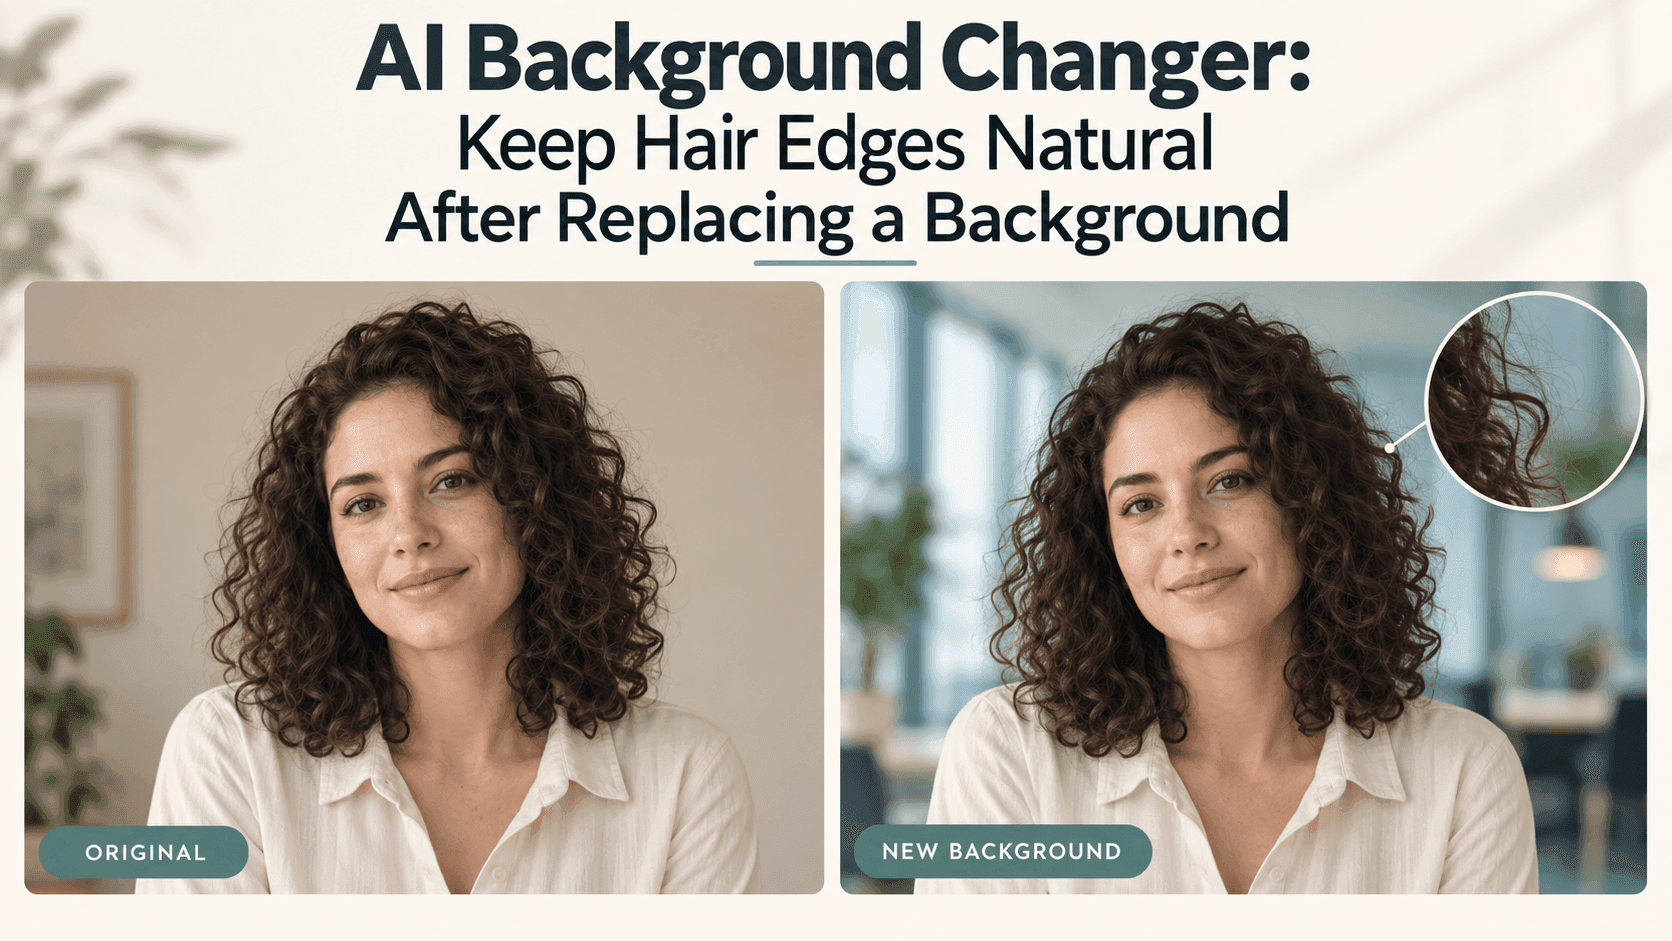
AI Background Changer: Keep Hair Edges Natural After Replacing a Background
You replace a messy bedroom with a simple office background. The face looks fine. The clothes look fine. But something about the head feels wrong.
Then you see it: a thin white outline around the hair.
An AI Background Changer can produce a convincing room while leaving that small detail unfinished. Sometimes the opposite happens. The outline disappears, but so do the loose curls around the ears. The result is clean, just a little too clean.
Before generating another version, it helps to work out which problem you have. Leftover background, missing hair, and mismatched lighting need different fixes.
Before using an AI Background Changer, look at the original hair
Open the original photo beside the edited one. Look at the crown, the temples, and the hair resting on the shoulders.
Were those loose strands visible in the first place? Was one side of the hair already bright because of a window? Did the original hairstyle have an uneven outline?
Those details give you something to compare against. Without that reference, it is easy to mistake a smoother hairstyle for a better edit.
That does not mean every bright edge should disappear. Light on the hair may belong to the portrait.
A different source photo might save you several attempts
Suppose you have two similar portraits. In one, dark hair sits against a dark bookcase. In the other, the person stands near a plain wall.
Start with the second.
There is no special trick here. You are giving the AI Background Changer a clearer view of where the person ends and the background begins.
Use the original file if you have it. A small screenshot may already have lost the fine strands you want to keep. Motion blur is another limitation: asking for “individual hairs in sharp detail” can encourage new detail rather than preserve what was photographed.
You do not need a perfect source image. Just avoid making the first test unnecessarily difficult. Leave some room above the head, keep the hair in focus, and do not crop away the ends before editing.
Try a quiet background first
A dark, dramatic backdrop can look appealing in a thumbnail. It can also make every pale hair edge obvious.
For your first AI Background Changer attempt, try a softly lit room or a simple neutral wall. Choose something that makes sense with the light already falling on the person.
If the left cheek is bright and the right side is shaded, a room with daylight from the left is a reasonable starting point. A dim scene with strong light coming from the opposite direction gives you another problem to solve.
This is not a way to hide a poor cutout. It lets you judge the hair without a lighting mismatch getting in the way.
A useful starting prompt is:
Replace the background with a softly blurred office with daylight coming from the left. Keep the person’s face, expression, clothing, hair color, and hairstyle unchanged. Preserve the visible loose strands and the gaps between curls. Keep the original lighting on the person.
For this AI Background Changer test, leave out requests for better skin, fuller hair, or a more glamorous portrait. You can decide on other edits later.
If there is a white fringe, describe that fringe
“Make it more realistic” does not tell the editor much.
A more useful AI Background Changer correction names the visible problem:
Remove the pale residue from the old background around the hair. Keep the existing hair volume, visible flyaways, and natural highlights. Do not tighten the outline or change the face.
Compare the corrected version with the original, not just the previous edit. Has the white border disappeared because the residue was removed, or because the outer hair was removed with it?
Check both sides of the head. A continuous pale outline is different from a few bright strands on the side facing the light.
If your AI Background Changer allows local edits, work on the affected area. If it only regenerates the whole image, inspect the face and clothing again afterward. A narrowly written prompt still does not guarantee a narrowly confined change.
If the curls have vanished, stop asking for cleaner edges
This is an easy mistake to make. The hair looks wrong, so you ask the AI Background Changer to “clean up the outline.” But the problem is that the outline has already been cleaned up too much.
Go back to the original photo. Ask to retain the visible curls around the ears, the loose strands above the crown, or the small gaps beside the neck. Be specific about what you can actually see.
Avoid asking for additional hair detail just to make the result look richer. Newly generated strands may look convincing without matching the source.
If several versions keep losing the same section, another full generation may not be the best use of your time. A local mask adjustment in an editor can be more appropriate.
When the background is good, keep it
Sometimes an AI Background Changer gets almost everything right. The room looks believable, the face is unchanged, and only a small patch beside the ear needs attention.
That is a good reason to stop replacing the whole scene.
For an AI Background Changer workflow in Reveedo, you can begin with the AI image editor. Describe the new background and the parts of the person you want preserved. The outcome still depends on the source photo, prompt, and selected model, so check the result before treating it as finished.
Look at the file you will actually publish
A small preview can make an imperfect edit look finished. Download the image and view it at the size you plan to use.
For a profile picture, look at the overall silhouette. For a large website banner, inspect the hair near the ears and shoulders more closely. If you have an editable cutout layer, checking it against both a light and a dark background can reveal leftover fringes.
Also compare the hairstyle as a whole. Did it become narrower? Did the parting move? Did a loose curl turn into a solid shape?
The best AI Background Changer result is not necessarily the one with the tidiest outline. It is the one where you notice the person first and do not think about the editing.
A few flyaway hairs can stay. They were part of the photograph.